# vmware 上安装 Linux
# 1. VMware
下载:
- 腾讯软件中心: https://pc.qq.com/
- 搜索: VMware Workstation Pro
许可证:
- 百度搜索: vmware workstation 16 许可证密钥
- ZF3R0-FHED2-M80TY-8QYGC-NPKYF
调整黑窗口的字体大小:
- 编辑虚拟机设置 -> 显示器 -> 拉伸模式
网络适配器:
- NAT 模式
# 2. CentOS 7
下载:
- CentOs官网镜像下载地址 (opens new window)
- 迅雷下载: 7.9.2009 -> isos -> x86_64 -> CentOS-7-x86_64-DVD-2207-02.iso
启用网络:
cd /etc/sysconfig/network-scripts
vi ifcfg-ens33
# 将 ONBOOT 从 no 改为 yes

# 重启网络
service network restart

# 查看 ip
ip addr
参考:
- 2025年CentOS镜像下载地址(包括CentOS官网、国内镜像下载)超详细教学 (opens new window)
- 在虚拟机VMware中安装CentOS后没有网络连接的解决方法 (opens new window)
# 3. FinalShell
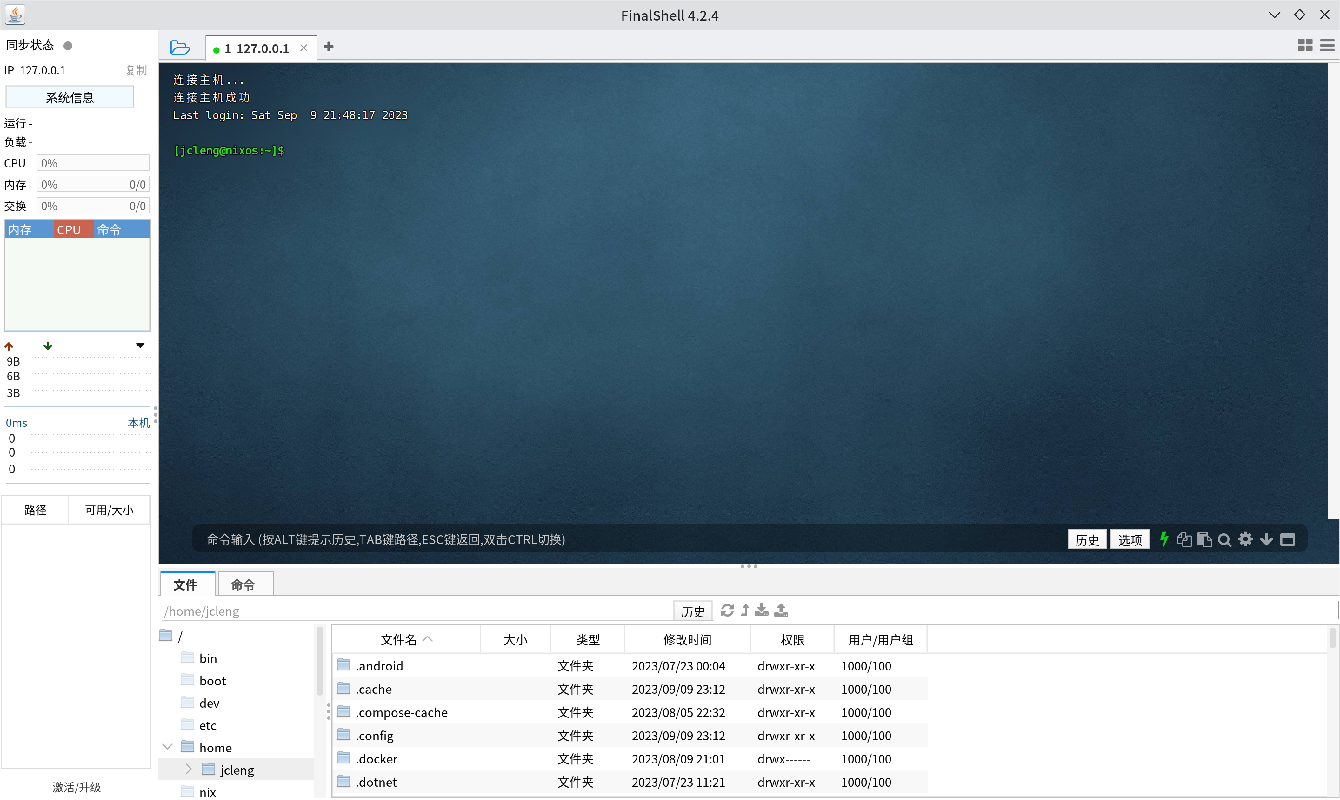
下载:
- https://finalshells.com/
# 更换 yum 镜像
# 第六步:检查当前 yum 仓库状态
yum repolist all

# 发现:有大量重复仓库配置,所有仓库都是禁用状态或包数量为0

# 第七步:彻底清理 yum 配置
cd /etc/yum.repos.d/
mkdir backup_final
mv *.repo backup_final/
rm -rf /var/cache/yum
yum clean all

# 第八步:创建新的国内镜像源配置
vi /etc/yum.repos.d/CentOS-Base.repo
配置内容如下:
[base]
name=CentOS-7 - Base
baseurl=https://mirrors.aliyun.com/centos/7/os/$basearch/
enabled=1
gpgcheck=0

[updates]
name=CentOS-7 - Updates
baseurl=https://mirrors.aliyun.com/centos/7/updates/$basearch/
enabled=1
gpgcheck=0

[extras]
name=CentOS-7 - Extras
baseurl=https://mirrors.aliyun.com/centos/7/extras/$basearch/
enabled=1
gpgcheck=0
# 第九步:禁用干扰插件
echo "enabled=0" > /etc/yum/pluginconf.d/subscription-manager.conf
mv /etc/yum/pluginconf.d/fastestmirror.conf /etc/yum/pluginconf.d/fastestmirror.conf.bak 2>/dev/null

# 第十步:测试网络连接到镜像站
curl -I https://mirrors.aliyun.com/centos/7/os/x86_64/repodata/repomd.xml


# 第十一步:重新生成 yum 缓存
yum clean all
yum makecache
yum repolist

# 第十二步:测试软件安装
yum install -y wget vim net-tools

# 第十三步:添加 EPEL 仓库
vi /etc/yum.repos.d/epel.repo
配置内容:
[epel]
name=Extra Packages for Enterprise Linux 7 - $basearch
baseurl=https://mirrors.aliyun.com/epel/7/$basearch
enabled=1
gpgcheck=0
# 第十四步:验证 EPEL 仓库
yum clean all
yum makecache
yum repolist
参考:
上一篇: 下一篇:
本章目录